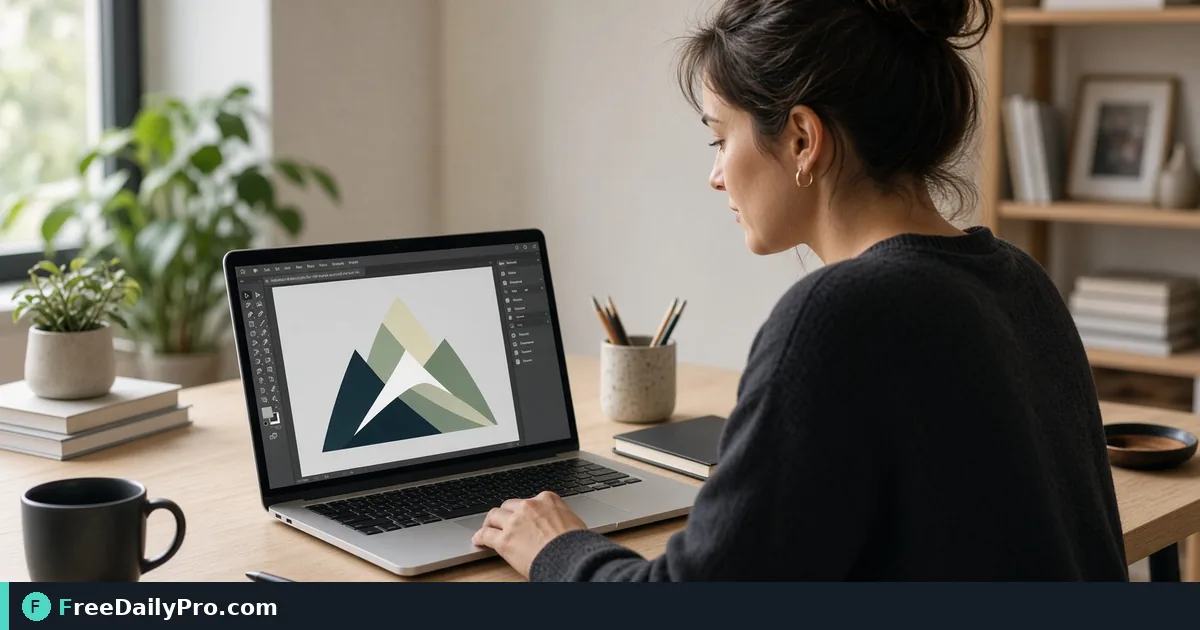
Trace a Flat Logo PNG Into a Scalable SVG
Turn a simple PNG or JPG logo into true vector paths in your browser. Pick the colour count, check the edges, and know when a photo is a poor input.
The only copy of a client's logo is an 800 by 800 pixel PNG, and now it has to appear on a business card, a favicon and a trade-show banner. Stretch the PNG and the edges turn to mush. Image to SVG traces the shapes into real vector paths, so the same file can be tiny or huge without losing sharpness, and the conversion runs entirely in your browser.
The clip below covers the conversion step.

What tracing is and is not
Tracing is not wrapping your picture in an SVG file. The tool analyses the pixels, groups them into colour regions and writes outlines of those regions as paths. The result is resolution independent: zoom in as far as you like and the curves stay crisp.
The catch is that the tracing step itself is a simplification. Fine detail and soft gradients are flattened into blocks of solid colour, so a traced photograph looks noticeably different from the original, not identical but scalable. That is why the tool works best on what logos already are: flat colours, hard edges, bold shapes. Any image your browser can display can be used as the source, including JPG, PNG and WebP.
Prepare the source before you trace
The cleaner the input, the cleaner the paths. A few minutes of preparation do more than any setting.
- Use the largest, least compressed version of the logo you can find. A JPG that has been saved many times carries blocky noise around the edges, and the tracer will faithfully turn that noise into extra shapes.
- Count the real colours. A logo with a dark brown mark, a cream background and an orange accent has three. Write that number down.
- Check the dimensions. When either side is over 1,500 pixels the tool shows a warning, because tracing a big image can take a long time and cannot be cancelled once it starts. If your source is 4,000 pixels wide and flat-coloured, a smaller copy usually traces just as well and faster.
Step by step in the tool
- Drop the image on the drop zone. The file name appears at the top.
- Set the Colors slider. It runs from 2 to 32 and starts at 8. For the three-colour logo, try 4 first, one more than the real count, to leave room for the soft pixels along the edges.
- Press Convert to SVG. There is no progress bar. A note explains that the tool has not frozen if it takes a moment.
- Look at the preview, which is drawn from the generated SVG itself. Check the curves of any round letters, the thin strokes, and the corners.
- If it looks right, press Download SVG. The file keeps your original name with the extension swapped, so logo.png becomes logo.svg.
- If not, press Re-convert, change the slider, and run it again. Choose New to start with a different file.
Choosing the colour count
The slider decides how many colour groups the tracer is allowed to use. Fewer groups give a simpler picture with fewer paths and a lighter file. More groups capture subtle shading, at the cost of a more complex SVG.
For flat artwork, a count close to the true number of colours is a good start. If you set 2 for a three-colour logo, the orange accent will be merged into one of the other colours, which is obvious at a glance. If you set 32 for the same logo, expect the anti-aliased pixels at each edge to become thin slivers of in-between shades, which show up as faint outlines when the file is scaled up. Compare the 4 and 8 results at a large size and pick the cleaner one.
The same logic explains why a photo behaves badly. A photograph genuinely contains thousands of tones, so any low colour count flattens it into posterised blocks, and a high count produces an unwieldy file full of tiny paths.
After the download
- Open the SVG in your browser and zoom to 400 percent. Edges should be smooth with no jagged stair steps.
- Open it in a text editor to see the colour values. If your brand guide lists hex codes and the traced colours differ slightly, use HEX / RGB / HSL Converter to compare them, then correct the fills in your editor.
- Remember that lettering is now outlines. You cannot retype the company name; you can only recolour or move the shapes.
- For the browser tab icon, drop the logo into Favicon Generator, which asks for an image and builds the set of sizes, then check legibility at the smallest one. Fine details that look good on a banner often vanish at that size, so a simplified mark may serve you better.
Common mistakes
- Starting from a screenshot. Screen captures carry scaling blur, so trace the original export instead.
- Expecting gradients to survive. A fade from blue to green becomes a few flat bands.
- Judging the result at thumbnail size. Problems show up only when you zoom, so zoom.
- Choosing 32 colours "to be safe". It makes the file heavier and the edges busier, not better.
- Ignoring the large-image warning and clicking away mid-trace. Wait it out or use a smaller copy.
- Treating the output as final artwork for print without a designer's eye. Tracing gets you most of the way, and a quick tidy of stray points in a vector editor finishes the job.
When to use something else
If you only need a smaller PNG or a different raster format, a vector is the wrong tool. The design tools category lists generators for gradients, shadows and icons that start from nothing. And if the logo only exists as a low-resolution JPG with fine text, expect to redraw it; tracing cannot invent detail that is not in the pixels.
Which kind of artwork do you most need to vectorise, logos, icons or hand-drawn lines? Tell us on the contact page.