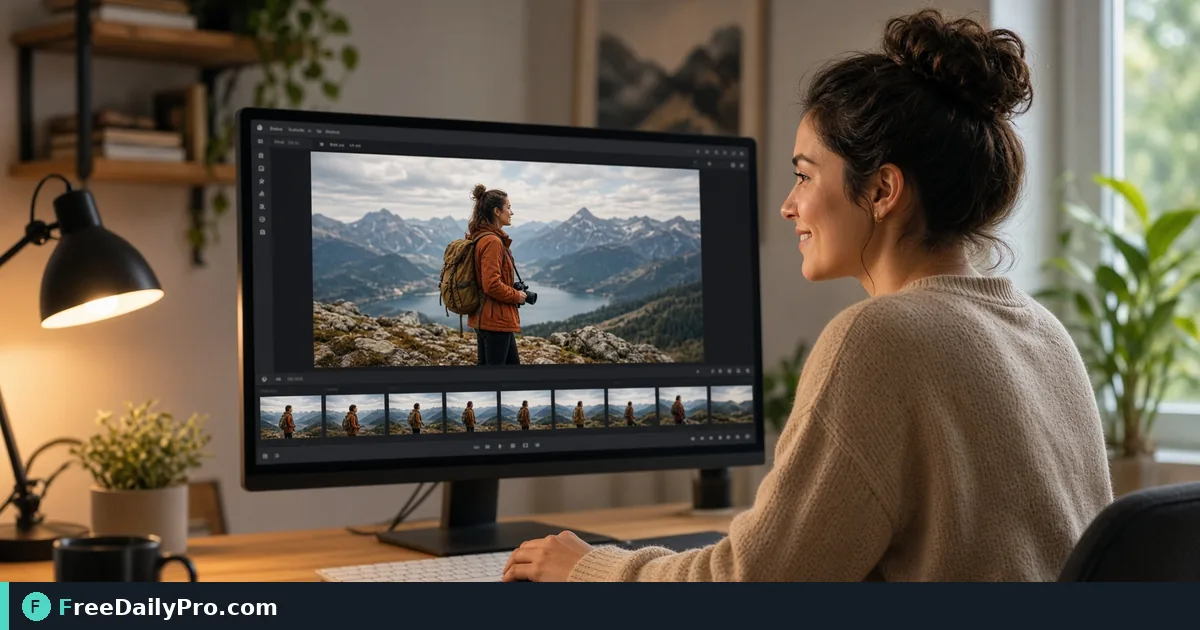
Pick a Sharp Video Frame and Add a Title for a Thumbnail
Step to the right frame of an 8-minute tutorial, use Suggest frames, add a title, and export 1280x720 and vertical covers.
You scrub through an 8-minute tutorial, hit pause on a frame that looks fine on a small preview, and export it. On the platform, it turns out to be mid-blink, slightly blurred by motion and darker than the rest of the video. The thumbnail is the first thing a viewer judges, and a pause frame chosen in a hurry is rarely your best one. Thumbnail Gen lets you pick the frame with precision, add an optional title and export at the right size.
Quick answer: upload the video, step to the frame or type its time, optionally press Suggest frames, choose a size, add a title if you want one, and press Capture Thumbnail. You can capture several frames and download them one by one or as a ZIP. The work happens in your browser.
The clip below shows a frame being captured as a thumbnail.

A worked case: a pricing-page tutorial
Say you have pricing-tutorial.mp4, a 1920 x 1080 screen recording that runs 8 minutes (480 seconds), and you need a 1280 x 720 cover for YouTube plus a vertical cover for a short clip. Start by pressing Suggest frames. The tool seeks to ten evenly spaced moments, at 24, 72, 120, 168, 216, 264, 312, 360, 408 and 456 seconds, makes small previews, and scores each for sharpness. Frames that are nearly black or nearly white are skipped and shown faded. The sharpest remaining frame gets a ring and a star.
Treat the star as a shortlist, not a verdict. A sharpness score is likely to favour frames full of fine detail, such as a dense table, rather than the one with the clearest face or the most obvious subject. Click the suggested frame and a couple of neighbours, and decide by eye.
Moving to the exact frame
- Drop the video. A file that is not a video is rejected with a message.
- Use the player's scrub bar for a rough position, then fine-tune with the buttons: minus 1 s, minus 1 frame, plus 1 frame, plus 1 s. A frame step is one thirtieth of a second.
- Or type a time into the Time box, such as 1:05.5 or 65.5, and press Enter to jump there. While the video plays, the box updates by itself.
- Pause on a frame where the subject is in focus, the face (if any) is mid-expression rather than mid-blink, and there is no motion smear.
Scrubbing slowly near a scene change usually finds a cleaner frame than a quick drag, and stepping by single frames around a cut lets you avoid the blended frames that sit on a transition.
Size, shape and title
Under Size you can choose Original size, YouTube 4K 3840 x 2160, YouTube HD 1280 x 720, YouTube Shorts 4K 2160 x 3840, Shorts or Reels 1080 x 1920, or Square 1080 x 1080. When a fixed size is chosen, a Shape menu appears. Fill scales the frame to cover the picture and crops the edges. Fit scales it to sit inside and adds black bars.
For the 16:9 tutorial and the YouTube size, Fill and Fit give identical results, because the shapes match. The difference appears on the other sizes. A 1920 x 1080 frame filled into 1080 x 1920 is scaled by about 1.78, and only about 32 percent of its width survives, so a screen recording would be mostly cropped away. Fit gives a 1080 x 608 picture centred between black bars, which keeps everything but wastes most of the canvas. For a square cover, Fill keeps 56 percent of the width and Fit keeps the lot at 1080 x 608 with bars. Pick according to whether the content is a centred face or a wide screenshot.
Typing in Title (optional) draws text near the bottom of the image with a dark outline, or a white outline if you choose black text. You can set Font (bold sans, serif, impact style or monospace), Colour (white, yellow, red or black) and a size slider. Text height is a percentage of the image height: at the default setting of 9 percent on a 720-pixel-high cover, the letters are about 65 pixels high. Titles wrap to fit 90 percent of the width, so keep it to three to five words. A long sentence turns into a block that covers the frame.
Exporting and naming
Each press of Capture Thumbnail adds an image to the gallery. The default is PNG; tick Save as JPG (smaller) for a JPG at 92 percent quality. Files are named after the video, the time and the options, for example pricing-tutorial_01m05.50s_yt_title.png for a capture at 1 minute 5.5 seconds with the YouTube size and a title. Download singly, or press Download all as ZIP once you have more than one.
A practical workflow is to capture three candidates around the same moment and compare them side by side in the gallery before you pick. If a PNG is heavy, a JPG is far smaller, and Compress Image will cut it further when a platform has a file size cap.
When the video will not play
Some videos, often iPhone recordings in HEVC, cannot be played by a browser. The tool then hides the player and tells you so; you type the time of the frame and press Capture. That path takes longer, because a processing engine is loaded in your browser to read the frame, and the Suggest frames button is not available, so use your own judgment on time codes.
Mistakes to avoid
- Choosing a frame by thumbnail-sized preview. Check it at full size. A blur invisible at 200 pixels is obvious at 1280.
- Placing key content where the platform overlays its own interface, such as the lower right corner where a duration badge often sits. Keep the title toward the left or short enough to avoid it.
- Cramming a sentence into the Title box. Short text reads at a glance.
- Filling a wide screenshot into a vertical cover and losing the point of it. Use Fit, or crop manually with Resize and Crop.
- Capturing from a heavily compressed copy of the video. Use the highest quality version available.
What to do next
If the best moment is buried in a longer clip, cut the clip first with Trim Video so the timeline is shorter. To study how others frame theirs, our post on downloading and reviewing YouTube thumbnails walks through the other direction. The video tools category lists related utilities. The daily allowance is 10 trial usages, so find the frame before you press the button.
Which part of packaging a video slows you down most, picking the frame or writing the title text? Tell us on the contact page.