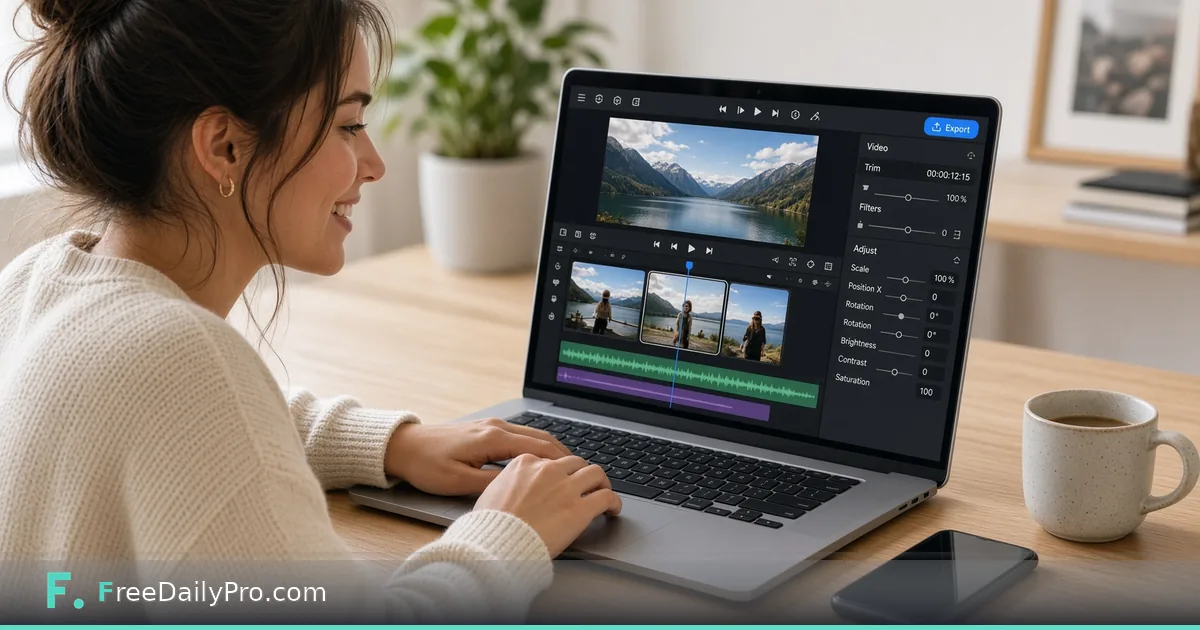
Join Three Interview Clips Into One MP4 With Mixed Formats
Combine camera, phone and screen-recording clips into one MP4 in your browser, and decide how portrait and widescreen shots are fitted.
A short interview rarely arrives as one tidy file. The host's camera gives you a widescreen clip, the guest answered a follow-up question on a phone held upright, and someone recorded a screen share to show a chart. Now you need one MP4 to send to a client. Merge Videos plays the clips back to back in the order you list them, and it handles the awkward part, clips of different shapes, without stretching anybody's face.
The clip below shows the upload, ordering and merge steps.

The example: three clips, three shapes
Imagine these files:
- Clip A, host introduction: 1920 by 1080, 4 minutes 12 seconds, from a camera.
- Clip B, guest answer: 1080 by 1920 (portrait), 3 minutes 40 seconds, from a phone.
- Clip C, screen recording of a chart: 1280 by 720, 2 minutes 5 seconds.
Together that is 597 seconds, just under 10 minutes. After you add the files, each row in the list shows its name, size in megabytes, running time and picture dimensions, and a line under the list gives the total, which here reads about 9:57. The row details are the quickest way to spot the odd one out, such as the portrait phone clip.
Steps in the tool
- Drop the clips onto the drop zone, or add them in several drops. If you add the same file twice, the second copy is skipped with a message.
- Put them in playing order with the up and down arrows beside each row. The first row plays first. The X removes a clip.
- Open Output shape. Same as the first clip keeps the size of Clip A. The other choices are Landscape 1920 x 1080, Portrait 1080 x 1920 (for Shorts or Reels) and Square 1080 x 1080.
- Decide whether to tick Fill the frame. Leave it off to keep every clip whole with black bars, or tick it to crop the edges instead.
- Click Merge Videos. When it finishes, preview the result and download merged.mp4.
Adding and ordering cost nothing; the merge click is what counts against your 10 trial usages a day, so finish the order before you press it.
What happens to the portrait clip
With Output shape on Same as the first clip, the result is 1920 by 1080. Clip B is scaled until its height fits, which makes it about 608 pixels wide, and the leftover width is filled with black, roughly 656 pixels on each side. Nobody is stretched, but a third of the frame on either side is empty, which is how a vertical video looks inside a landscape player.
With Fill the frame ticked, Clip B is scaled until its width fills 1920 pixels, which makes it about 3,413 pixels tall, and the middle 1,080 rows are kept. Only around 32 percent of the original height survives, so heads and captions near the top and bottom can be cut off. For an interview, black bars are the safer default. Use Fill when the picture has headroom to spare, such as a landscape clip going into a square output.
If the finished piece is for a vertical feed, choose Portrait 1080 x 1920 instead. Clip B then fills the frame untouched, and Clips A and C become 1080-pixel-wide bands in the middle with black above and below.
When a merge is fast and when it is slow
If every clip already matches in codec, size, frame rate and audio layout, the tool joins them without re-encoding. That is quick and keeps the original quality. In the example the sizes differ, so the clips are re-encoded to one shape, one frame rate (taken from the first clip and kept between 10 and 60) and one audio format. Expect more waiting, and a progress bar with a Stop button.
A clip with no sound does not break the merge. It gets silence of its own length, so the audio stays aligned. After the merge you are told how many clips were silent. Screen recordings often have no audio, so listen to Clip C's section on the result.
Common mistakes
- Merging before trimming. A guest answer with ten seconds of fumbling at the start will keep it. Cut it first with Trim Video, then add the shorter file.
- Wrong order. There is no drag handle; use the arrows. Check the numbering in the list before you merge.
- Ignoring the size notice. The limit applies to all clips added together, not each clip alone. If the combined size passes your plan's limit, the Merge Videos button stays disabled; compress the biggest clip with Compress Video first.
- Expecting every phone file to load. Some .mov files from phones use a codec the engine cannot read. If processing fails straight away, re-export from the phone's share options or convert the file with Convert Video.
- Judging quality from the seam. Clips of very different quality can look uneven where they join. That is a property of the sources, not an error.
Privacy and checks before you send
The videos are processed in your browser; they are not uploaded to a server, though the video engine itself has to load before the first merge starts. Because the work happens on your device, long clips use your memory and time, so close heavy tabs for a large job.
Before you send the file, scrub through the three joins and the last ten seconds. Play the screen-recording section with sound on, and watch the portrait part full-screen to see how much black you accepted. If you would rather present the clips as separate chapters, keep the files apart. The video tools category lists the other steps, such as extracting audio or making a GIF.
Do your interview clips usually arrive in the same shape, or do you spend most of the time fixing mismatches? Tell us what you would like next on the contact page.