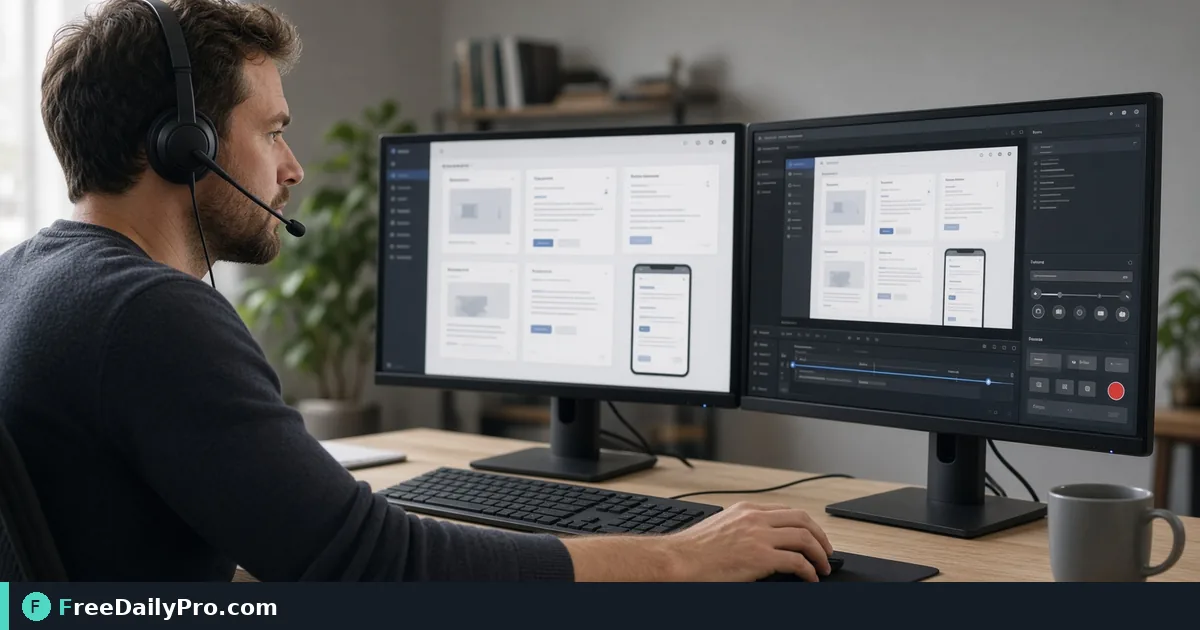
Record a 4-Minute Help-Center Walkthrough in Your Browser
Plan, record and finish a short screen walkthrough with region select, microphone, camera bubble, pause and the right next-step tools.
The third support ticket about the same settings screen is usually the moment someone says "I should just record this." A four-minute walkthrough answers it for everyone, as long as it is easy to follow and does not leak anything private. Screen Recorder captures a screen, window or browser tab straight from the page, with optional narration, and gives you a file to download.
The short version: rehearse once, choose the narrowest thing to share, record, then trim and shrink the file. The clip below shows the recorder from start to download.

The project: "How to reset a team member's password"
Say you maintain the help center for a small web app and want one clip showing an admin resetting a password. The plan is about 12 clicks across three screens, so around four minutes with narration. Write the steps as a bullet list before you touch the recorder, then run through them once without recording. People who skip the rehearsal usually record a minute of searching for the right menu.
Prepare the screen next. Close chat apps, mute notification banners, and use a test account with a harmless name. Browsers can show a tab's title in the sharing prompt, so close tabs with anything personal.
Setting up the recording
Before pressing Start Recording, look at the three switches above it.
- Microphone on or off. It starts on. A level meter shows during recording so you can see that your voice registers. If you have more than one input, a Microphone menu lets you pick it. Narration must be on before you start, because it cannot be added to a finished clip.
- Camera bubble on or off. When on, a small round picture of you sits in the bottom-right corner, and you see a live preview before recording starts.
- Countdown on or off. A three-second countdown appears on screen so you can get your hands ready.
Now press Start Recording. The browser asks what to share: a whole screen, one window or one tab. For a web-app walkthrough, share the single tab, since that excludes your bookmarks bar, other windows and desktop. The browser may also ask for microphone and camera permission separately, because those are different permissions.
Choosing a region or the full capture
After you choose what to share, a live preview appears. You have two options. Drag a rectangle to record only that area, then press Record Selected Region, which only becomes available once the box is at least 20 pixels across and high. Or press Record Full Capture to take everything.
A region helps in a case like this: if the admin panel fills only the middle of your monitor and the rest is empty or cluttered, cropping at capture time removes the clutter without editing later. The tradeoff is processing. Recording a region redraws every frame through a canvas, which asks more of the machine than the raw capture. On a slower computer or for a long recording, take the full capture and crop afterwards.
While you record
Use Pause for anything you do not want in the clip: typing a real password, waiting for a slow page, or fixing a mistake. Resume continues the same file, so the paused stretch is simply absent. Stop ends the take and shows a player with the recording. If you use your browser's own Stop sharing button instead, the recording ends in the same way.
Narrate the reason for each click, not only the click. "Open Team, then select the member, because resets are per person" teaches more than "now click here". Move the cursor slowly and let it rest on the element you are describing. Viewers cannot hear a mouse, so a pause on the target is their cue.
What you get
The player shows the length, and the tool tells you which format it saved. When your browser can record MP4, you get an MP4 with H.264 video and AAC audio, which plays almost everywhere. Otherwise you get WebM, the format your browser recorded in. The file name carries the date and time, such as screen-recording-2026-10-24_14-05.mp4, so repeated takes do not overwrite each other.
If a clip passes 200 MB, a note recommends compressing before you share it. Use Record Another to start over; that clears the current take, so download first.
After recording: trim, shrink, convert
Most takes need a trim for the first and last few seconds. Download the file, then open Trim Video, set start and end, and save. If the clip must go into a ticket system with an upload limit, Compress Video reduces the size. For a looping two-step demo, Video to GIF is a better fit than a full video. If an older application cannot open a WebM file, Convert Video can produce an MP4.
Capture, preview and download happen in your browser. The tool provides no upload step of its own, so where the file goes after download is up to you, which is worth remembering before you put a customer-facing clip on a public page.
Mistakes that make walkthroughs hard to use
- Recording the whole desktop when one tab would do, then exposing a notification or a second monitor.
- Forgetting the microphone switch, then finding a silent clip.
- Choosing a region too small to read once the video is scaled down in the help center.
- Talking too fast over fast clicking. Slow the cursor and pause between screens.
- Leaving real customer data visible. Use a test account, or pause and redo that step.
- Saving only the raw file. Keep the script notes beside the video so you can re-record when the interface changes.
Checklist before publishing
Watch the clip once with the sound off to see whether it makes sense visually, then once with the sound on. Confirm that no real names, emails or tokens appear anywhere. Check the length against your plan, and add a short written summary on the help page for people who skip video. More tools of this kind sit in video tools, and a broader tour of capture workflows is in the guide on async screen recording.
What would you record first: a bug report, an onboarding tour or a how-to for customers? Tell us on the contact page.